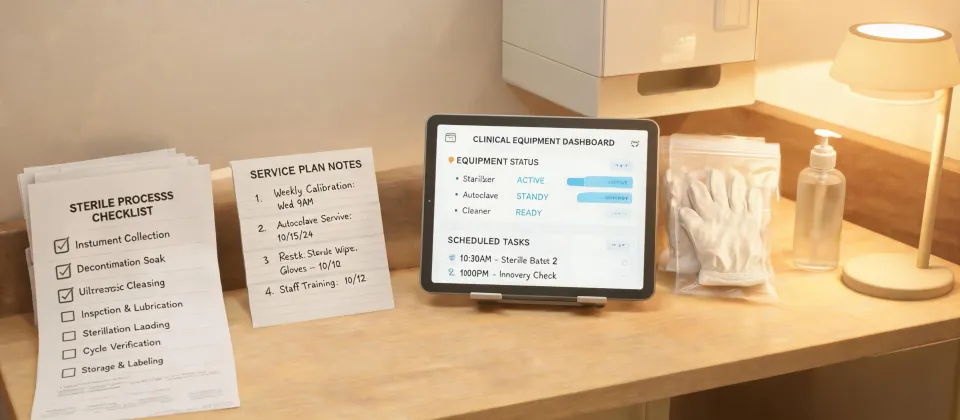
Who This Checklist Is For
If you're responsible for purchasing or overseeing sterile processing equipment at a hospital, surgical center, or clinic, this guide is for you. I manage procurement for a mid-sized surgical center — roughly 150 procedures a week — and I've learned (sometimes the hard way) what it takes to keep a sterilizer running reliably. This checklist covers the key steps from equipment selection to daily operation, so you can avoid the costly downtime that comes from reactive fixes.
5 Steps to Reliable Sterile Processing with STERIS 400 Series Sterilizers
Step 1: Match the 400 Series Model to Your Workflow
When I first started buying sterilizers, I assumed all STERIS 400 series units were basically the same. They aren't. The 400 Series includes gravity, prevacuum, and liquid cycle models — each suited to different loads. For example, the 400M is widely used for wrapped instrument sets, while the 400L handles liquids like saline bottles.
What to do: Audit your typical daily load — number of trays, types of instruments, and any specialized items (e.g., flexible endoscopes). Then match the model's cycle options to your mix. A mismatch means running extra cycles or compromising sterilization parameters.
(Note to self: I once bought a gravity-only unit for a facility that needed prevacuum for lumened instruments. Costly retrofit.)
Step 2: Verify Installation Requirements Before Signing the PO
It's tempting to focus on price and delivery time, but the utility requirements can make or break your installation. STERIS 400 series sterilizers need specific steam quality (typically ≥98% dryness) and water hardness levels. Skipping the pre-installation survey can lead to installation delays or, worse, damage to the unit.
Checklist for installation:
- Steam supply at correct pressure (typically 40–60 psi)
- Drain line with proper venting and no backpressure
- Electrical connection matching unit specs (208–240 V, 3-phase)
- Water quality within AAMI ST79 guidelines
After this step, I recommend schedule a factory training session for your biomed team (often included in the purchase). Don't assume they'll figure it out — I made that mistake, and the first week was a nightmare of alarm codes.
Step 3: Build a Preventive Maintenance Calendar on Day One
My initial assumption: as long as the sterilizer passes its daily Bowie‑Dick and biological indicator tests, it's fine. Then we had a chamber seal failure on a Friday afternoon. That cost us 48 hours of downtime and a surgery reschedule. Preventive maintenance isn't optional.
Set up a PM schedule based on the manufacturer's recommendations — typically every 6 months for general maintenance, and annually for chamber cleaning and valve calibration. Use the STERIS service contract if your budget allows; it includes priority parts and labor. If not, at least buy a spare door gasket and a set of fuses.
The 5‑minute daily check that can save you 5 days of repair: before the first cycle, inspect the door gasket for cracks, clean the chamber drain filter, and check the print head for clarity. I've been doing this for a year, and it's caught two potential failures early.
Step 4: Train Operators on Loading and Unloading — Seriously
This is the step most people overlook. You might think any technician can load a sterilizer tray, but improper loading is a leading cause of sterilization failures. Instruments need to be positioned so steam can penetrate; wrapped trays shouldn't touch each other or the chamber walls.
Here's a concrete checklist I created after a cycle failure investigation:
- Place instrument sets on their sides to allow air removal
- Leave at least 2 inches between cassette edges
- Do not stack trays directly on top of each other
- Use manufacturer‑approved containers or wraps
I printed these rules and posted them next to the sterilizer. Then I do a monthly spot-check (unannounced) to make sure compliance sticks. Training isn't a one-time event; new staff rotate in, and old habits drift.
I've also learned that operators don't always know what the STERRAD or V‑Pro low‑temperature sterilizers are used for. STERIS 400 series is steam — high heat. If someone loads an endoscope that can't tolerate 121°C, you're in trouble. Post a clear list of instruments and their sterilization method near the load cart.
Step 5: Implement a Daily Biological Indicator Protocol
Biological indicators (BIs) are the gold standard for verifying sterilization. Some facilities run them weekly; I've found daily runs catch problems much faster. It's a small investment — about $3 per test — compared to the cost of a potential infection event.
Here's my routine:
- Place one BI in the most challenging location (usually the center of a wrapped tray)
- Run a full cycle on your largest load
- Incubate and read after the recommended time (usually 24–48 hours)
- Keep a log of results and review trends monthly
If you get a positive BI, don't just repeat the cycle — investigate the root cause. Check load configuration, cycle parameters, and the sterilizer maintenance log. The earlier you catch a problem, the less it costs.
Common Mistakes to Avoid
Based on my experience (and a few expensive lessons), here are the pitfalls I see most often:
- Buying on price alone — A cheaper unit might lack the cycle options you need, or have a smaller chamber that forces extra runs.
- Skipping water quality checks — Hard water scaling inside the chamber can reduce heat transfer and damage parts.
- Waiting for the annual PM — Small issues like a leaking drain valve can snowball. Log any anomalies and have them checked during PM.
- Not updating SOPs when staff changes — Assign a responsible person to update training materials and loading guidelines annually.
Sterile processing isn't glamorous, but it's the backbone of surgical safety. A little prevention — the right equipment, trained operators, and a PM schedule — saves a lot of correction later. That checklist alone has helped my facility cut unplanned downtime by about 60% over the past two years. (I really should document that metric better... maybe next quarter.)