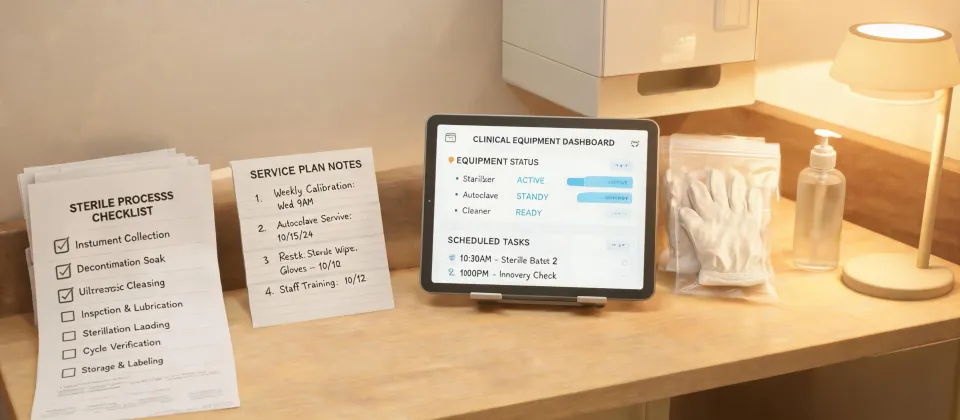
When I first started in sterile processing, I assumed the hard part was the science. Cycle parameters, chemical indicators, biological spore tests — that's what I studied for weeks before I was allowed to touch anything. It took one equipment failure during an orthopedic case to teach me otherwise. The sterilizer worked perfectly. Everything around it didn't.
That was 2019. By 2021 I had made enough equipment-related mistakes to build this checklist the hard way. Seven significant errors, documented, totaling roughly $5,800 in wasted instruments, materials, and credibility. Now I maintain our team's daily pre-op verification list so you don't have to repeat any of them.
This list is for the people who walk in at 6 AM, verify that equipment is ready, and carry the blame when something isn't. If that's you — a new sterile processing tech, an OR coordinator, a nurse who got handed the "check the rooms" duty — then this is written from your side of the counter.
Five equipment categories. Ten minutes. One rule: verify everything yourself, even if someone told you it's done.
1. Sterilizer Machine Readiness
A STERIS machine passes its biological spore test and you assume the load is safe. That was my assumption. The spore test proved the chamber reached temperature. It didn't prove the door gasket was sealing correctly.
$890 in wasted instrument sets later, here's what I check every morning:
- Door gasket integrity — visual inspection and light finger pressure along the full seal. Cracks, a stiff spot, or anything embedded in the gasket? No load until it's replaced.
- Chamber drain strainer — it should be clean and fully seated. A clogged strainer was my original mistake, and it produced wet loads all morning because the air removal phase couldn't work properly.
- Previous cycle printouts — read them. Compare each cycle's actual temperature, pressure, and exposure time against the parameters on file. Per ANSI/AAMI ST79, the standard that governs steam sterilization in healthcare facilities, operators are responsible for reviewing and documenting physical cycle parameters. That's not a suggestion.
- Chemical indicator color blocks — compare against the standard reference card, not your memory of what "dark enough" looks like at 6 AM.
And one thing I learned the hard way: label your units clearly. I once spent almost an hour checking the wrong manual for the wrong sterilizer — I want to say it was 45 minutes, but I might be misremembering — because the labels had worn off both identical units. Know which STERIS machine is which. Saves more time than you'd expect.
2. Surgical Light Inspection
Here's the thing: most people check surgical lights by turning them on and glancing up. That's not a check. That's a hope.
We didn't have a formal surgical light inspection process when I started. It cost us when a STERIS surgical light flickered mid-case during a long laminectomy. The surgeon didn't break stride — headlights are a gift to humanity — but the OR charge nurse had words with the entire team afterward. We were lucky. It could have been an ophthalmic case where light quality matters even more.
What I do now:
- Power up to full brightness — and leave it on for a moment. LED and halogen sources behave differently. Know which you have and how each should respond.
- Test the backup battery, if equipped — pull the main power and confirm the light holds. It takes 40 seconds. Everyone skips it. Don't be everyone.
- Inspect the lens and finish — cracks, deep scratches, or yellowing reduce usable light more than you'd think. A lens that looks fine at 6 AM can wash out a deep cavity at noon.
- Verify the sterile handle locks — I've seen one fall mid-case. It landed on the drapes, not the patient. Terrifying.
3. Hospital Crash Cart Verification
Hospital crash carts are where "someone else checked it" goes to die. Everyone assumes the previous shift verified everything. The previous shift assumed the same about yours.
Speed, accuracy, and completeness. In that order. If the cart isn't where it's supposed to be, nothing else matters.
- Location — every cart returned to its assigned spot after transport, cleaning, or use.
- Tamper-evident seals — check each drawer and compartment visually. Intact means nobody opened it since the last check. That's all it means.
- Drug drawer contents — compare against the hospital's approved list, not the previous shift's word. I don't care how reliable they are. If your carts use automated dispensing, run the system inventory report and reconcile it against the cart list.
- Defibrillator readiness — pad expiration dates, battery percentage, and the self-test log. A defibrillator that passes its self-test is a good start. Check the pads anyway.
The mistake that stuck with me: I checked the seals only, not the contents. A seal was perfectly intact on a drawer that was missing a vial of epinephrine. What's in the drawer can be missing even when the seal says "looks fine." We caught it during a monthly audit, not during a code. I want to say the missing item was epinephrine — but don't quote me on the exact drug. The lesson is broader.
4. Neuromonitoring System Setup
The neuromonitoring system is the equipment I find people are least comfortable with and most afraid to admit it. It doesn't look as straightforward as a crash cart or a sterilizer. So it gets the least attention in the morning routine.
Here's what I verify before every case:
- Electrode impedance test — all channels, first thing in the morning, well before the patient is prepped. A bad electrode contact produces false readings that ripple through the entire case.
- Stimulator connection check — all cables securely seated. I've seen a loose connection look like a potential loss of signal on the monitoring screen. One surgeon canceled a case over it — rightly — and it was just a cable.
- Ground electrode placement — confirmed with the scrub team, never assumed because "it was done yesterday."
- Baseline capture — run the system's baseline procedure before the patient enters the room. That's your comparison point for the whole case.
- Patient folder confirmation — verify the system is recording to the correct case folder. At 6:45 AM, it's easy to pull up yesterday's patient. It happens.
My initial approach to neuromonitoring was to defer entirely to the specialist who set it up. Smart people, solid training — that instinct was right. But the third time I watched electrodes placed on the wrong landmarks, I realized I needed to understand the basics myself. Not to do their job. To catch problems before they reached the patient.
5. Oxygen Flowmeter: How to Use It and Check It
Everyone thinks they know how to use an oxygen flowmeter. Then they meet one with a sticky float or a tilted sight glass.
- Seat the flowmeter vertically in the gas outlet. A tilted flowmeter reads incorrectly. This is the most common error I see from experienced staff, not newcomers. If you're using a portable unit on a cylinder, the same rule applies.
- Attach the tubing to the outlet barb and listen. You should hear gas flow immediately. If you don't, something is blocked or not seated.
- Set the prescribed flow rate — watch the ball or dial settle, then read at the center of the float, at eye level. Not from above, not from an angle.
- Briefly occlude the tubing — the float should dip, then return when you release. If it doesn't, the internal mechanism is sticking or the tubing is compromised.
- Set analyzer alarm limits on the ventilator circuit before connecting, if this is a ventilated patient.
That's it. Five steps. The simplest equipment on this list, and the one people check the least.
My flowmeter mistake: I adjusted one to 3 L/min, saw the ball hovering near the mark, and walked away. What I didn't catch was that the flowmeter was seated slightly off-vertical — enough to skew the reading by nearly half a liter. The patient received less oxygen than ordered. The nurse caught it. The patient was fine. I still remember the moment she called me on it.
Mistakes I've Made So You Don't Have To
The procedural list is above. The behavioral rules are here, and they matter just as much:
- Never trust a verbal "it's ready." Verify in person. I don't care who said it or how many years they've been doing this.
- Don't rush the first round of checks. 6 AM is when everyone's moving fast and thinking slow. Slow down on purpose.
- Document everything you fix. If you don't write it down, it didn't happen. AAMI ST79 requires physical parameters of every sterilizer cycle to be reviewed and documented. Build that habit for all equipment, not just sterilizers.
We've caught 47 potential errors with this checklist in the past 18 months. 47 — not a round number, an actual count from our morning huddle log. Some were small: cracked gaskets, expired defibrillator pads, unseated drain strainers. Some would have been very, very bad.
The first time I ran this list end to end, it took me about 25 minutes. Now it takes ten. Ten minutes to prevent rerunning the $5,800 worth of mistakes I racked up — and the credibility damage that came with them. That's the best trade I've made in this job.